Dealing with hard water can cause a myriad of issues in your home, from limescale buildup to reduced efficiency of cleaning efforts. According to the United States Geological Survey, 85% of American homes have problems with hard water, highlighting the importance of water softeners. Water softener installation can mitigate these issues by removing minerals that cause water hardness.
Choosing and installing the proper water softener not only prolongs the life of your home appliances but also improves water quality significantly. Below, we explore the essential considerations and steps to ensure your water softener is a valuable addition to your home.
Selecting the Right Water Softener for Your Home
Starting with the appropriate water softener is fundamental to addressing your hard water troubles effectively. The size and type of softener should match your household’s water usage and hardness level. A unit too small will regenerate too often, while one too large may waste water and salt.
Water softeners come in various models, including salt-based ion exchange softeners, salt-free conditioners, and magnetic or electronic descalers. Each type has its pros and cons, so researching or consulting with a professional can ensure you get a system that aligns with your preferences and requirements.
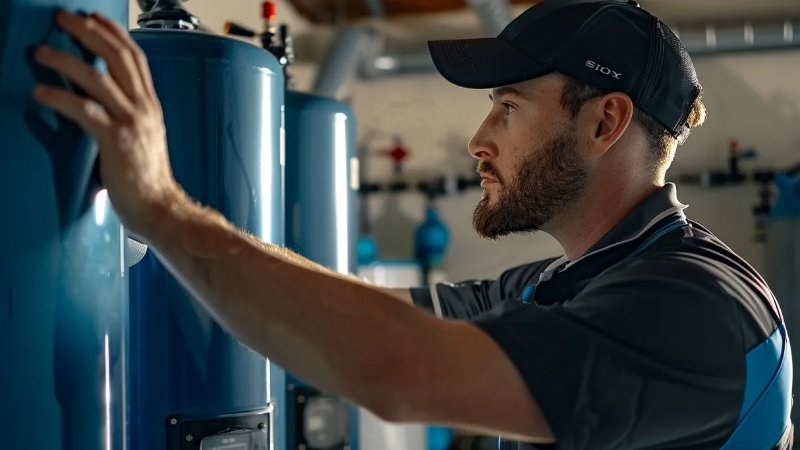
Consider the capacity you need, calculated in grains per gallon (gpg), and whether you have specific limitations like space or environmental concerns. Water Softener Installation in Twin Falls, ID by Magic Electric, Plumbing, Heating & Air It’s also important to take into account future changes in water usage, like a growing family or increased consumption, to avoid the need for early replacement.
Preparing for Water Softener Installation
Before the installation begins, preparation is key. Ensure you have all necessary tools and supplies, including pipe cutters, fittings, and tubing. Adequate preparation can prevent delays and ensure a smooth installation process.
Choose the location carefully, considering factors such as proximity to the main water line, drain for regeneration, and power supply for electric models. The installation spot should be dry, level, and accessible for maintenance. Additionally, comply with local building codes and regulations to avoid any legal issues.
Create a clear installation plan and consider if you’ll need professional assistance. If you’re not experienced with plumbing, hiring a licensed plumber can help prevent mistakes that could lead to costly repairs or water damage. Many manufacturers also offer detailed guides and customer support, so take advantage of these resources.
Step-by-Step Process of Water Softener Installation

Installing a water softener starts with shutting off the main water supply and draining the existing system. Remember to also power down the water heater and avoid using water during the installation to avoid complications.
Next, cut into the main water line to integrate the bypass valve, which allows you to control water flow through the softener. You’ll need to install the water softener tank and brine tank according to the manufacturer’s instructions, ensuring all connections are secure to prevent leaks. Be mindful of the orientation and be sure to follow the correct pipes to and from the softener.
After connecting the tanks, carefully add the recommended type and amount of salt to the brine tank. Program the control valve as per the instruction manual, which varies by model but largely involves setting the hardness level and regeneration cycle. Thoroughly double-check all connections for any leaks and then progressively turn the water back on. Observe the system during its first regeneration to ensure everything is functioning correctly.
Maintaining Your Water Softener Post-Installation
Once your water softener is installed, regular maintenance is critical to ensure it continues operating efficiently. This includes checking salt levels monthly and replenishing as needed, as well as cleaning the brine tank annually to prevent salt bridges and sediment buildup.
Apart from routine checks, keep an eye out for signs that the softener isn’t working properly, such as changes in water pressure, spotting on dishes, or a sudden increase in salt usage. These could indicate that maintenance or repairs are required. It’s also a good idea to have your softener serviced by a professional every few years to prolong its lifespan.
For an in-depth understanding of ongoing maintenance and troubleshooting common problems, refer to the manufacturer’s manual and consult resources such as maintenance tips for your water softener. These can provide valuable guidance on preserving the efficiency and effectiveness of your softening system over time.
Ultimately, the journey to softer water in your home requires careful selection, preparation for installation, and ongoing maintenance. By ensuring each step is completed with due diligence, your water softener can provide long-term benefits, safeguarding your appliances and enhancing your daily water usage. Remember, the success of your water softener hinges on regular attention and adherence to the recommended care practices.